
By: DazDaMan - 1st August 2012 at 22:52
Have to say the undercarriage legs on my model disappointed me somewhat, as once the legs were fixed to the doors in the correct (to my reckoning, anyway) position, there wasn’t enough of the actual leg itself to glue into position!
After a lot of fiddling and swearing, I managed to get the legs on somehow, but I’m not sure they’ll hold all that well…
By: DazDaMan - 1st August 2012 at 19:52
Well, I’ve spent this afternoon putting together the majority of the Mk.22 so far.
My quibbles with it? Well, the fuselage wouldn’t join together very well around the cockpit area, and there’s now a slight gap around the fuel tank section. I also found putting together the cockpit components a bit fiddly, too.
However, it’s a nice kit, goes together fine for the most part (apart from the bits I mentioned, but maybe that’s just this particular kit?)
Would have liked a set of 80 Squadron Spitfire F.24 codes in the decal sheet, but hey ho.
Pics to follow at some point… 🙂
By: DazDaMan - 29th July 2012 at 15:26
That’s good news! Just hope the same thing doesn’t happen to mine…!!
Funnily enough, I have a spare set of 1/72 decals kicking about somewhere for another Spitfire 22 from years back. They’re 603 Squadron markings, but I think they’re incorrect as they don’t have the red squares in the fuselage band…
By: paul178 - 29th July 2012 at 00:16
Made a right royal **** up on mine at the very last hurdle. Fortunately a member came to my rescue!
http://www.britmodeller.com/forums/index.php?showtopic=234923241&hl=
By: DazDaMan - 28th July 2012 at 22:26
Made a tentative start on the F.22 this evening. Painting black bits before committing to the cockpit and some actual building.
By: DazDaMan - 26th July 2012 at 07:26
Do you mean VN318?? That was all the decals that one came with. Quite thankful, really, as they DID go a bit pear-shaped during application!
(If you look closely at it, you can spot the areas where the decals ******** up!)
That one was a resin kit, I think, that I built up a good few years ago now. It was a bigger nightmare than the Matchbox one, because the wing dihedral was slightly flat. When I tried to help it into the right angle, the bloody wing BROKE OFF at the root! A lot of cursing, superglue and sanding followed that episode, but it looks pretty good now! 😀
The Airfix Spit will be next…. 😉
By: paul178 - 26th July 2012 at 06:39
Come on Daren that 1/72 one is not finished! If I can drive myself insane puting on countless decals so can you!:D I spent 2 hours last night and I still have 30 or so of the tiny little things to apply! I am sure its Airfixs way of getting back at us for all the complaints over the years!
By: DazDaMan - 26th July 2012 at 00:04
Finally, the finished article:
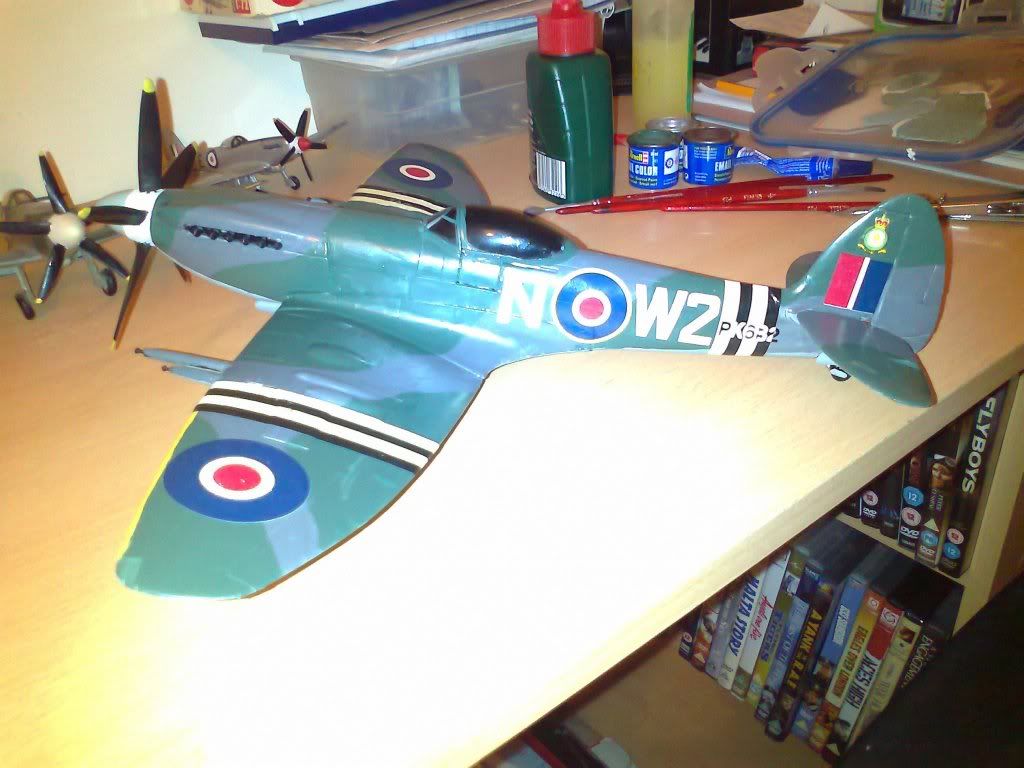
The decals weren’t quite the write-offs that I feared, although the protective film had somehow managed to become attached to the decal sheet itself (you can probably see some of the film on the stripes on the wings).
I made do with the main markings/codes etc, and left off the stenciling as I reckoned this would have come apart during the application process!
It doesn’t look too bad by my thinking. Yes, a fiddly kit to put together, with some issues that will put off the less experienced modeler, but the end result isn’t a total mess. A better builder than myself would be able to improve it.
By: DazDaMan - 25th July 2012 at 23:53
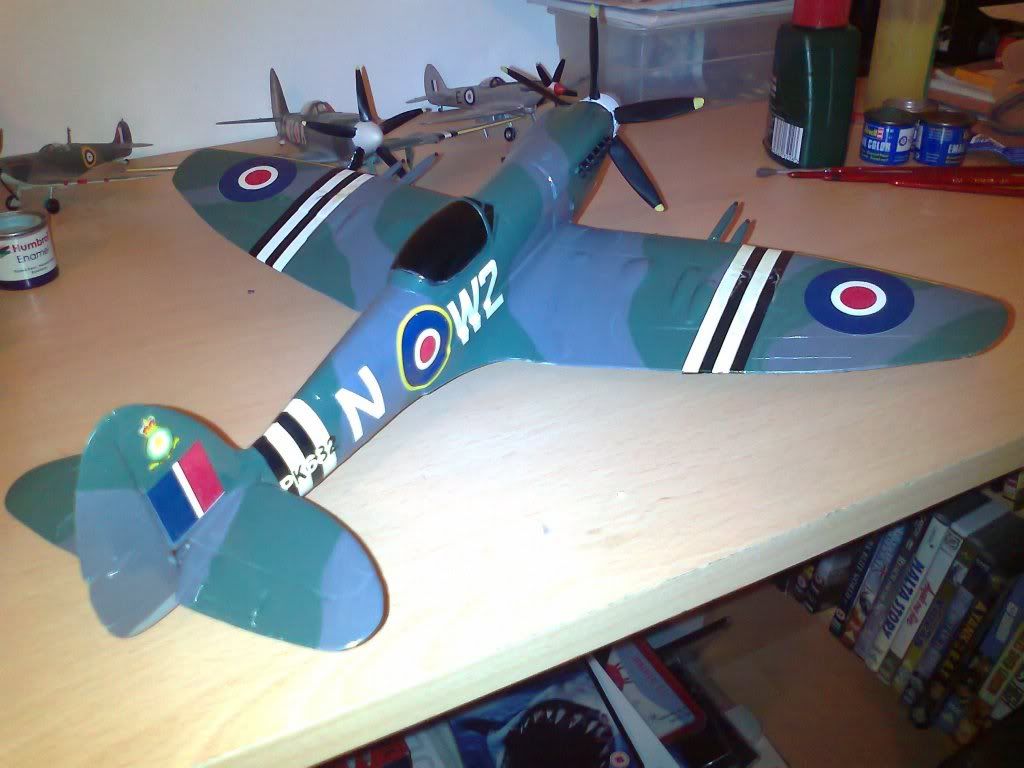
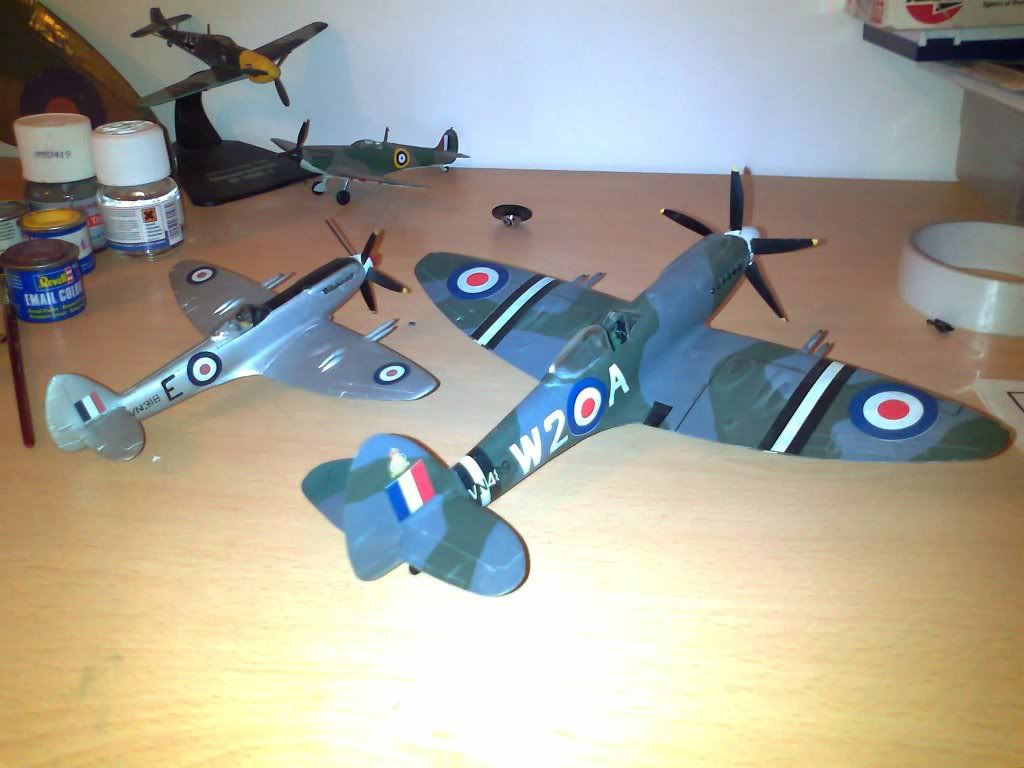
1/72 and 1/48 models:
By: DazDaMan - 25th July 2012 at 23:52
Matchbox Spit progress:
By: DazDaMan - 21st July 2012 at 01:09
I’ll hopefully have my F.24 finished this week. It might not be ideal, but…!
By: paul178 - 20th July 2012 at 23:27
Panel gaps, If they ar that big I use slivers of plastic card and sand to shape. As I write this I got my 1/72 mk22 today and am making it as well as being on the forum.:) Seems a nice kit a lot of decals though! As for colour after my Halfrauds grey primer its going to be rattle can Airfix silver followed by kleer for decals then another coat of kleer. On my test piece it seems to knock the shine back a bit to more like ally.
One day somewhere down the list though I will get a spray gun and compressor but I can’t justify the expence at the moment.
By: DazDaMan - 20th July 2012 at 18:19
Incidentally, I found my old 1/48th Airfix Spitfire 24 in the loft. It’s minus its port-side tailplane, and received a pitot head and tailwheel from a donor aircraft.
I’m going to try and make another tailplane from plastic card, somehow…!
By: DazDaMan - 20th July 2012 at 18:13
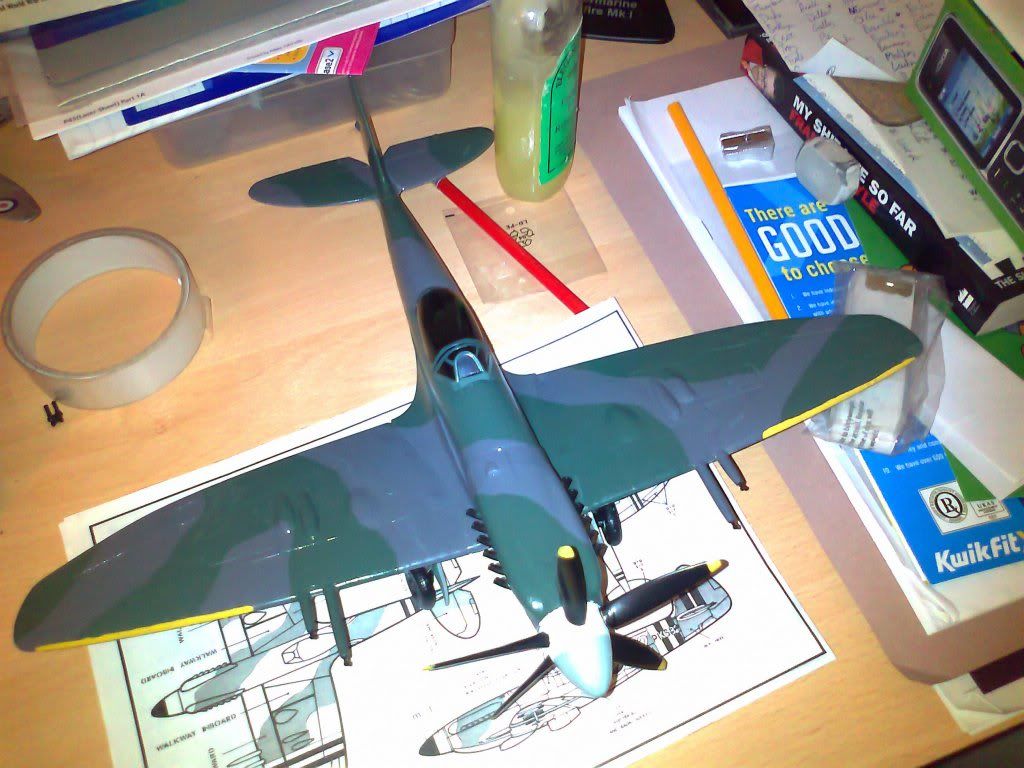
Here’s the Spitfire so far.
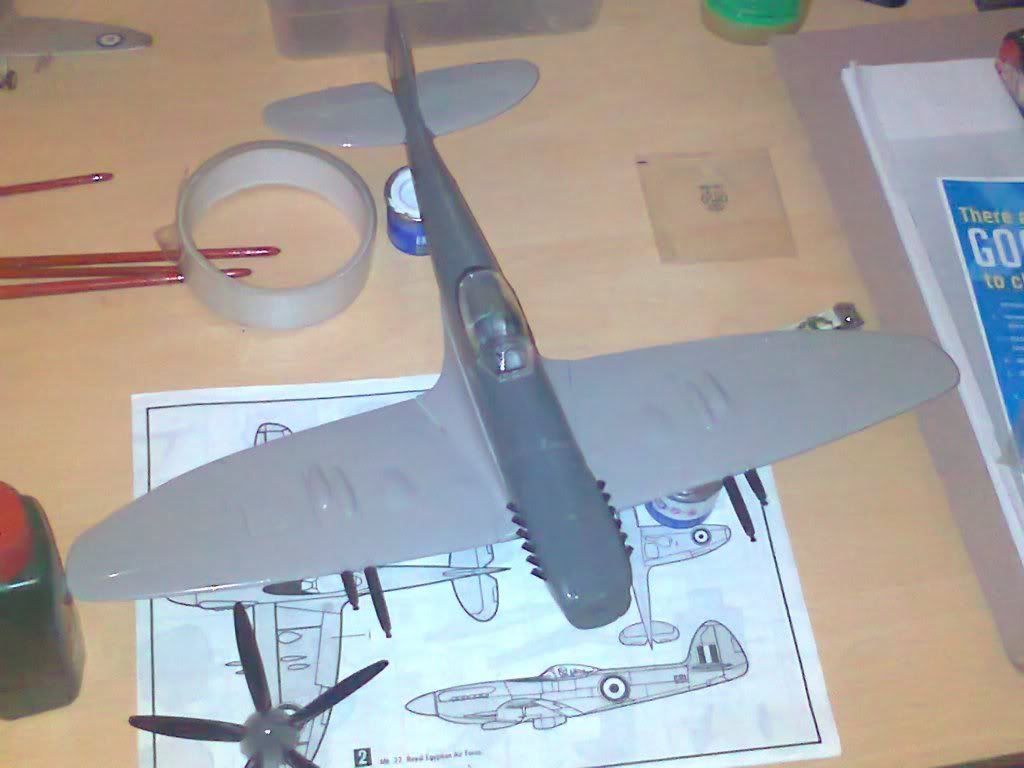
I’m giving it a coat of silver paint before committing to camouflage. I ended up filling the panel gaps with PVA glue – it might not be ideal, but it does the job and you don’t have to sand tons off to get the desired effect.
By: DazDaMan - 18th July 2012 at 21:53
The exhausts are moulded as part of the upper section of the Griffon, so I’ve simply glued that onto the upper cowling, then the side panels on to that. It’d take more patience than I have to cut the stubs off and try to align them properly without that engine part!!
There’s a front piece that you’ll need to try and give the cowlings their correct shape, though. I’ve resigned myself to a static prop, too.
I’ve got the wings on, and the fairings installed, but there’s bigger gaps in them than in the logic of your average Hollywood blockbuster!
At the moment it looks something like it’s supposed to, anyway.
I’m still not sure how those old decals are going to hold up when used. I might sacrifice the old Egyptian markings to test them out…
By: paul178 - 18th July 2012 at 21:35
Daren part 11 the exhausts are you just going to stick them to the cowling and do you need the very front part of the engine to allow the prop to rotate?
I am thinking of deleting the engine as well!:)
By: DazDaMan - 18th July 2012 at 19:46
I dunno whether I’m very brave or very foolish, but I decided that big Spitfire 24 needed building today…. 😮
I’ve gone for a much more “simplistic” approach with it – skipping the engine (since it’ll be cowled anyway) and cockpit fittings, and just attempt to build the thing like a giant 1/72 model. Since the cockpit was pretty sparse anyway, I’ve decided to simply paint the canopy black and have it closed.
I almost missed out a vital part – the firewall – while building it. Otherwise the damn thing would have looked like it needed a shot of Viagra!! :rolleyes:
Will post up some pics when I have it finished….
By: DazDaMan - 15th July 2012 at 23:05
Very, very nice indeed, Arthur! 🙂
It’s a pity that kit is now out of production – they command much higher prices on eBay nowadays! 😮
By: Arthur Pewtey - 15th July 2012 at 19:55
I think the roundels were the same size. No, if you look in the first picture, under the wing, look at the gear door. I put them the wrong way round, the lower pointy bit should be at the rear. I even put them the right way to cut out the decals for the serial properly. Doh!
If the Airfix 1/72 kit is even half way as good as the 1/48 scale version it will be a fine kit.
By: Ant.H - 15th July 2012 at 19:36
Well it looks fantastic to me Arthur, I wouldn’t notice anything about it if you hadn’t said. Perhaps the wing roundals are on the fuselage, and vice versa??


 Sign In
 June 30, 2012 at 12:18 pm