I was taking photos of my newly restored old car and was disappointed that the car’s color came out so off.
The problem of the red colour could be dealt with by:
a. exposure
Obviously the photograph of the car is clearly overexposed. Overexposure results in clipping of one ore more of the Red, Green and Blue channels of the camera’s sensor. Unfortunately in most cases the Red channel is the first one to blow, resulting in loss of detail and colour shift in the reds. You can avoid overexposure and clipping by looking at the histogram of a picture. Example
Watch the red “spike” on the right side of the histogram, which indicates red channel clipping. This can be dimished, or even completely avoided, by lowering the exposure. This can be done by switching the camera to manual mode and setting an exposure or by dialing in an minus exposure correction (e.g. EV – 0.3, -0.5, -.07). Make a series of exposures with different exposure correction factors and each time watch the histogram! If the picture seems to come out a little too dark, don’t panic! To a considerable degree this can be corrected in post processing.
b. white balance
As mentioned above, a correct white balance is also very important to make sure that colours will be displayed correctly. Auto white balance will not always deliver a satisfactory result. You could try to improve the colour rendering by setting an alternative WB, e.g. Daylight, Cloudy and look at the result on your LCD screen (live view mode). Decide what you like best.
It usually is also possible to make a custom white balance, by shooting a neutral grey or white reference card. Unfortunately the mentioned Kodak Gray Card was not designed for white balancing, but for exposure purposes. Its grey is not completely neutral. There are better options, like the cards from WhiBal
http://www.whibalhost.com/_Tutorials/WhiBal/01/
If you don’t have a calibrated grey card, a piece of white printing paper might give a satisfactory result as well.
If your camera supports photography in RAW, always select that option. It allows you to make corrections to white balance and exposure in post processing. However it always remains important to be careful in the shooting stage and to use the information provided by the histogram.
Edit: Colour rendition
In the automatic modes, especially point-and-shoot camera’s often select a vivid colour rendition with saturated colours, which could contribute in blowing e.g. the Red channel. This can be avoided by manually selecting colour mode Neutral, or to set-up a Custom Color rendition in which you adjust contrast and saturation to your own liking. See your SD1300 IS manual!!
I also reckon there’s a lot of sound advice here: http://www.kenrockwell.com/
Ken Rockwell is considered to be rather controversial in his opinions and his reports on camera’s and lenses aren’t much more than write-ups of the specifications. Still there could be some useful information in there for you.
In my opinion a more solid site to start with would be Cambridge in Colour http://www.cambridgeincolour.com/tutorials.htm
Just for the record and also blowing my trumpet a bit: I’ve been using SLR’s intensively for over 45 years. 😀 😀
I switched to Nikon in 1977 and have always enjoyed those camera’s (still owning and using 5 SLR’s and DSLR’s).
The Nikon D60 is a good camera for an introduction to “proper” photography.
My advice:
– stay away from the “scene modes” (like sports, portrait, landscape, etc.), as they will not contribute in developing your insight in setting up your camera effectively
– instead, start with the A-mode (aperture priority) and S-mode (shutter speed priority)
– learn when to use wide apertures (for shallow depth of field) and small apertures (for maximum depth of field)
– whenever possible, use a low ISO setting, but be aware of the shutter speed to avoid camera shake (focal length 50mm: above 1/50 sec; focal length 200mm: above 1/200 sec, etc.); select a higher ISO setting if necessary, but on the D60 try to avoid anything higher than 800 ISO
– be aware of movement blur; for moving subjects select a shutter speed above 1/350 sec, until you’ve mastered good panning technique
– shoot in RAW (Nikon: NEF mode) and use Nikon software to “develop” your files. This also enables you to play with various alternative camera settings (like white balance, exposure) after the shoot. Nikon ViewNX2 can be downloaded for free.
– enjoy your camera and shoot a lot!
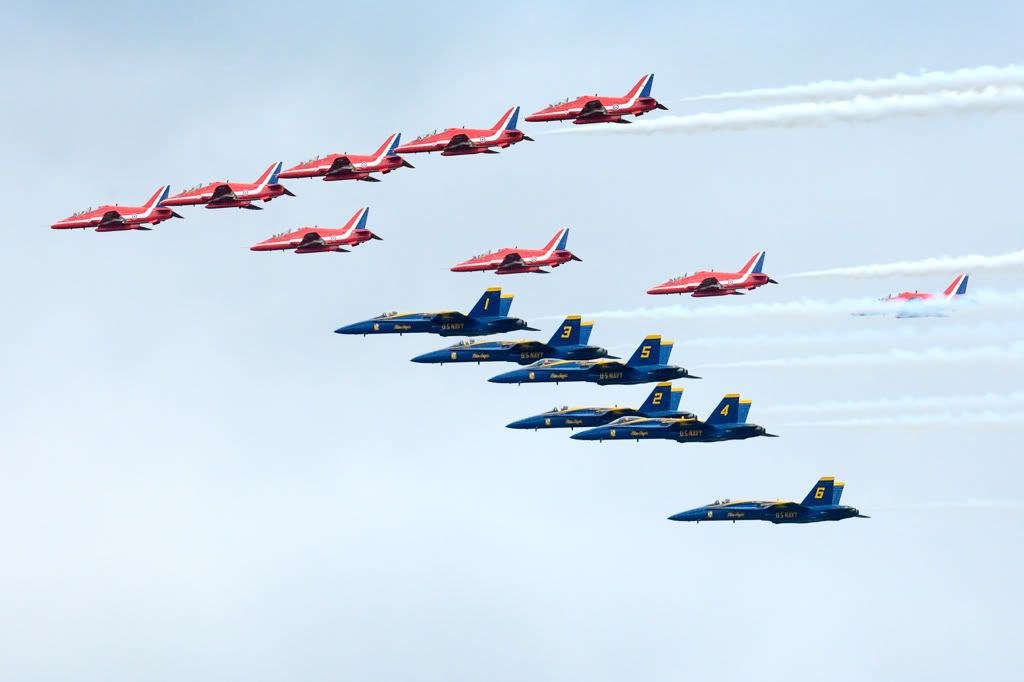
Blue Angels + Red Arrows!
How about this rare formation? Shot at Leeuwarden AFB in the Netherlands in 2006.
Martin,
On a Canon camera with an APS-C size sensor (like your camera), 18mm is not very wide for architecture. In my opinion for this kind of photography you would be better served with a lens starting at 12mm or even a little shorter. Good options which come to my mind include the Tokina 12-24, Tokina 11-16 and Sigma 10-20mm. If you’re lucky you might find a used Tokina 12-24mm for a very reasonable price, although probably a little above your £200 target.
i think for example changing a lens whilst at an airshow is risking dirt in side the camera and i would rather not have that.
With some caution, it is no problem at all to change lenses during an airshow. I always make sure that the camera body is pointing downwards whilst changing, to prevent dirt to enter the camera. This has been my habit with DSLR’s and film SLR’s for well over 40 years now and I don’t have had any issues with dirt in my camera’s.
My advice? If it ain’t broke don’t fix it!! The hair in the viewfinder has nothing to do with sensor cleaning. If it really bothers you, it could be dealt with separately (but at a price!).
As a Nikon man I’m not familiar with the Canon lenses, but my guess is that a 18-200mm would not be better than your 18-55mm in the same range. It could even be worse as an 18-200mm will be even more of a compromise. I would rather look for a lens to complement your 18-55m; for instance a 70-300mm.
Edit:
Sorry I overlooked the fact that your 18-55mm has lost its autofocus ability. However I guess that a good secondhand replacement can be found rather cheaply.
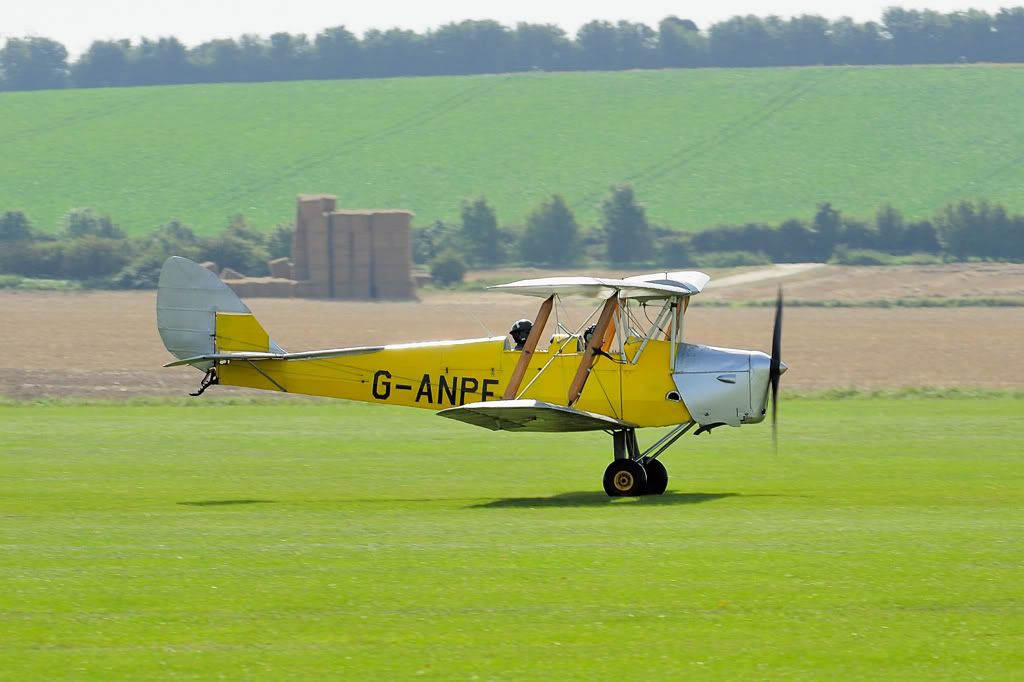
Lovely pictures, but let’s hope no ‘journalists’ get hold of that second one or we will be having a “Ancient stunt plane crashes with engine failure less than seven miles from a primary school” story
Moggy
:D:D
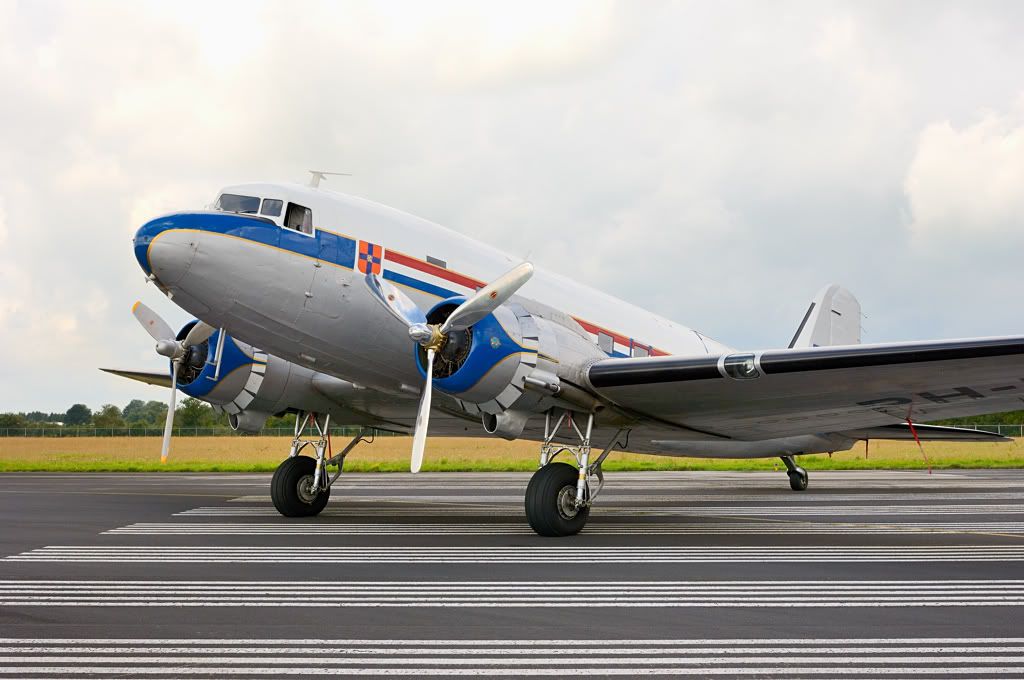
In better days
I hope that everybody is alright and that this beautiful aircraft can be restored.

I visited Airbase Coventry last year and was very impressed with not only the magnificent collection of aircraft, but also the friendliness and support of the staff.
Although I live in the Netherlands, many more visits are on my to-do list ……:)
Very nice pictures, but your “Rafale” seems to be a Saab Gripen to me…..:)
Amazing sights!
And some more.
Herman
Did you notice the flat tailwheel tire on ‘Trusty Rusty”?
Thank you all for your valuable remarks on the USAAF insignia. I have passed them on to the Aviodrome restoration team!
how the photo would have looked like 65 years ago.
[url=http://www.flickr.com/photos/65625590@N05/6052801915/]
Nice pictures of a beautiful aircraft!
This KLM livery is actually from the early sixties and not from 65 years ago.
This particular aircraft originally belonged to HRH Prince Bernhard of The Netherlands. A few years ago the PH-PBA reappeared in its original livery.
In the sixties this aircraft was used by the Netherlands CAA as a calibration aircraft in this livery: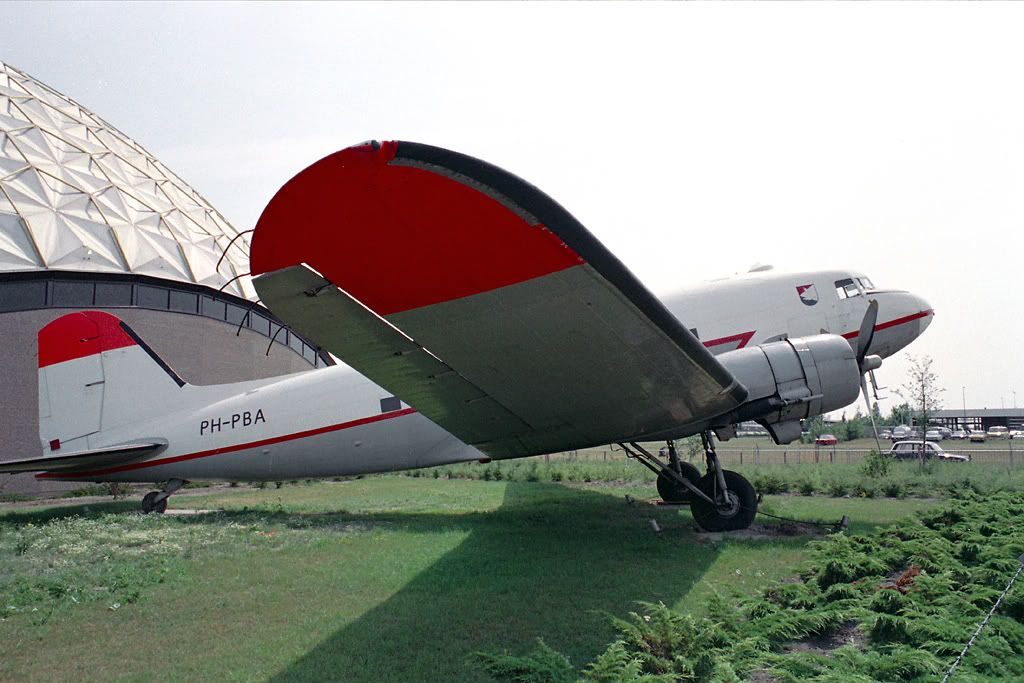
Until last year the aircraft was painted in the KLM livery of the late forties and fifties (other side Air France):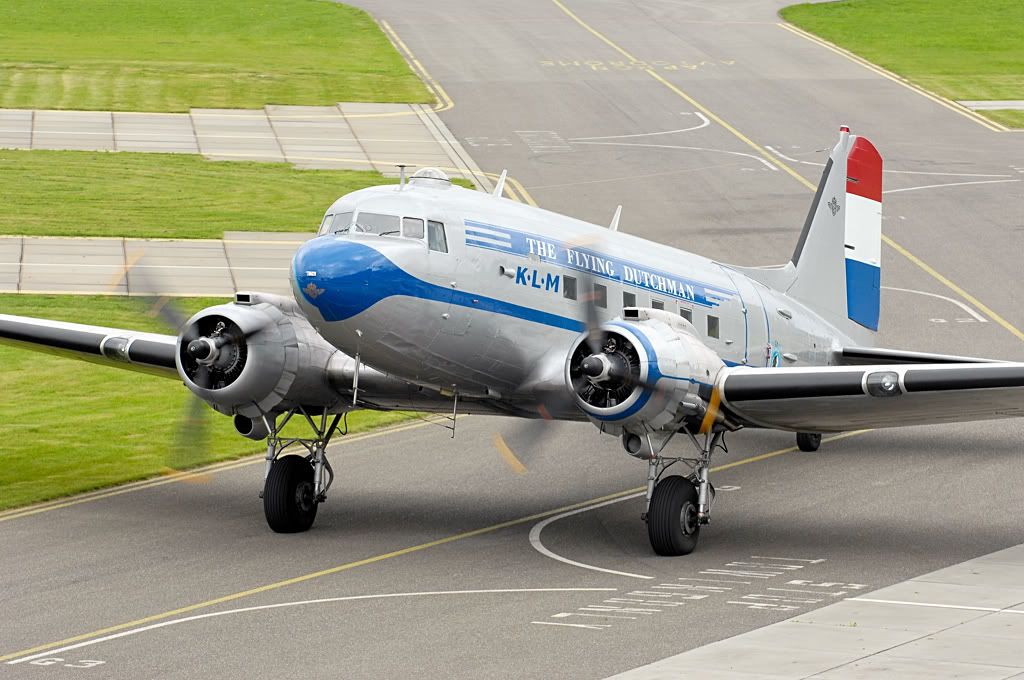
And now the KLM livery of the early sixties and baptised Prinses Amalia.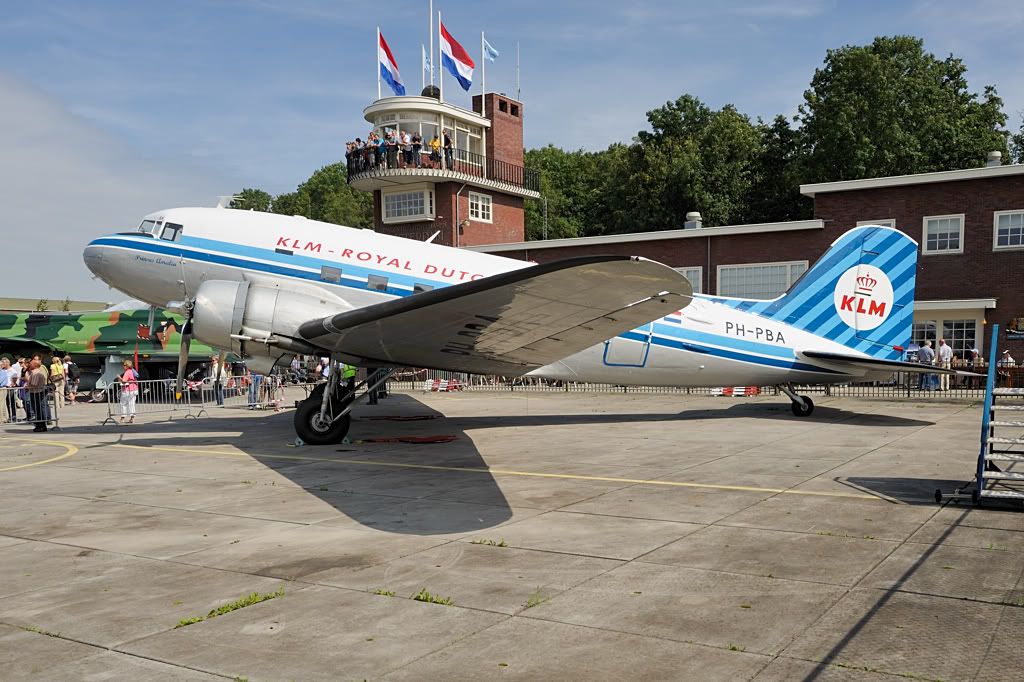


 Sign In